Quick and Easy
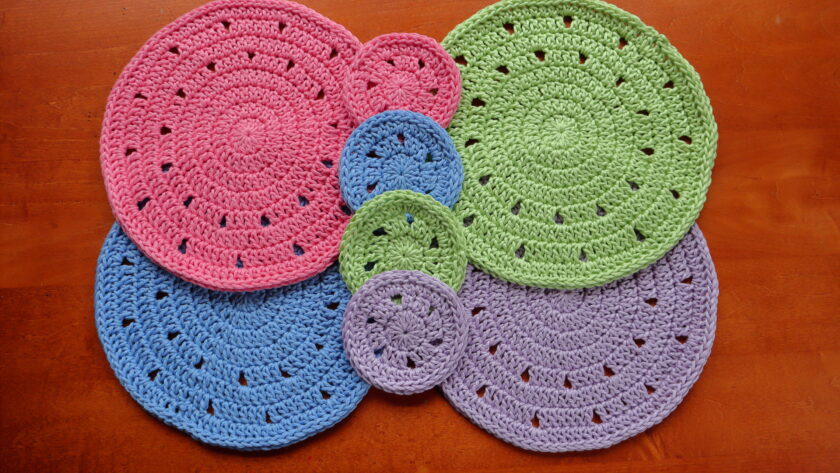
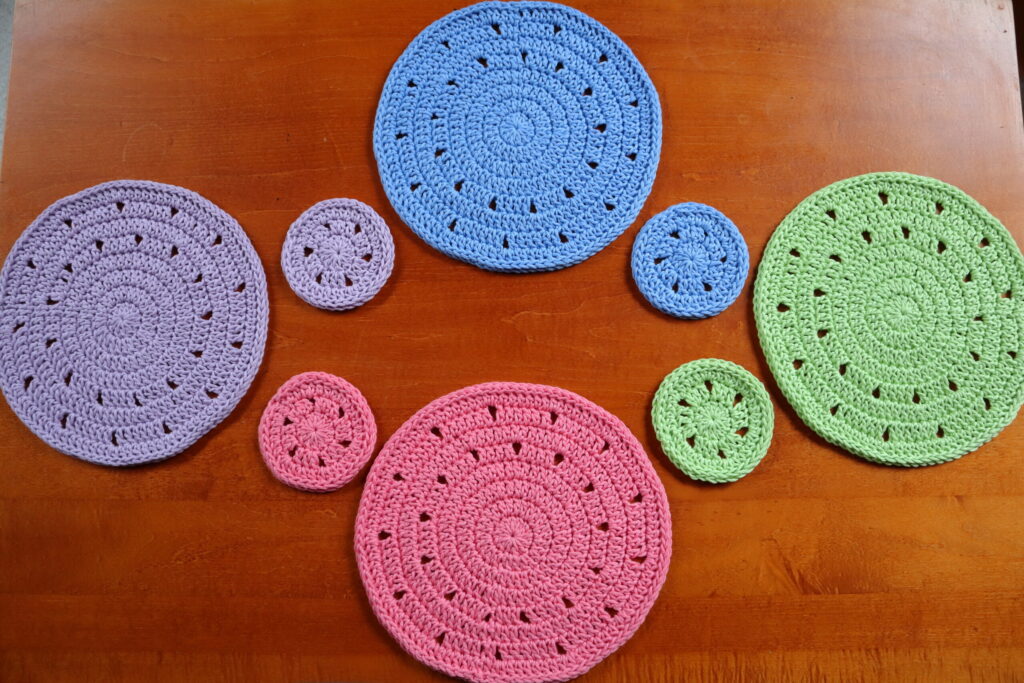
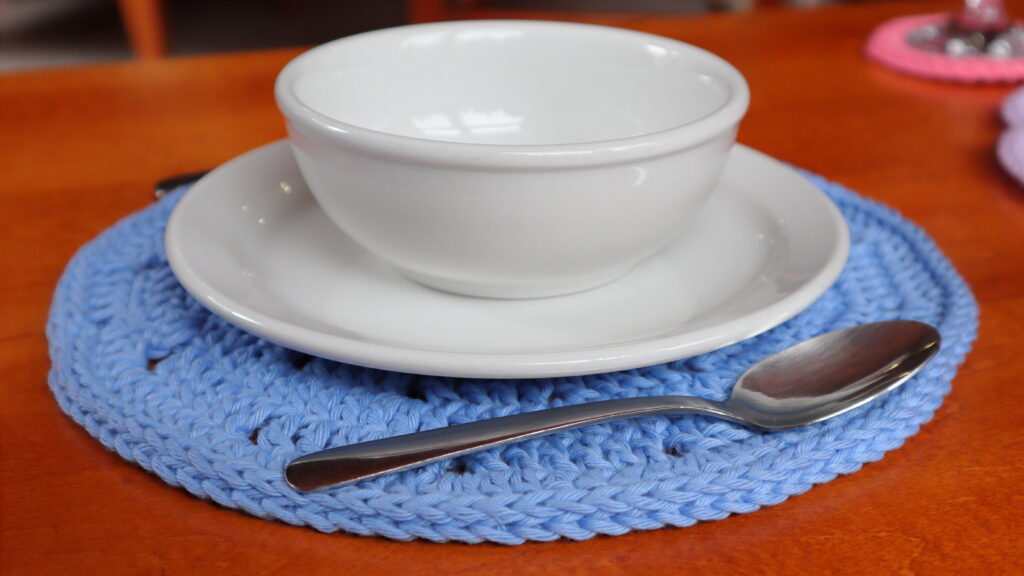
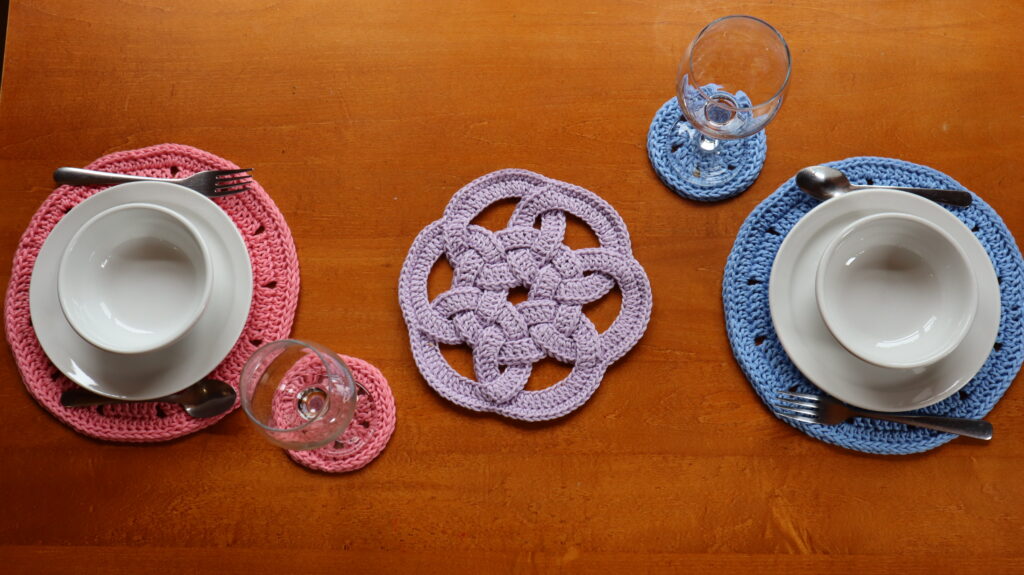
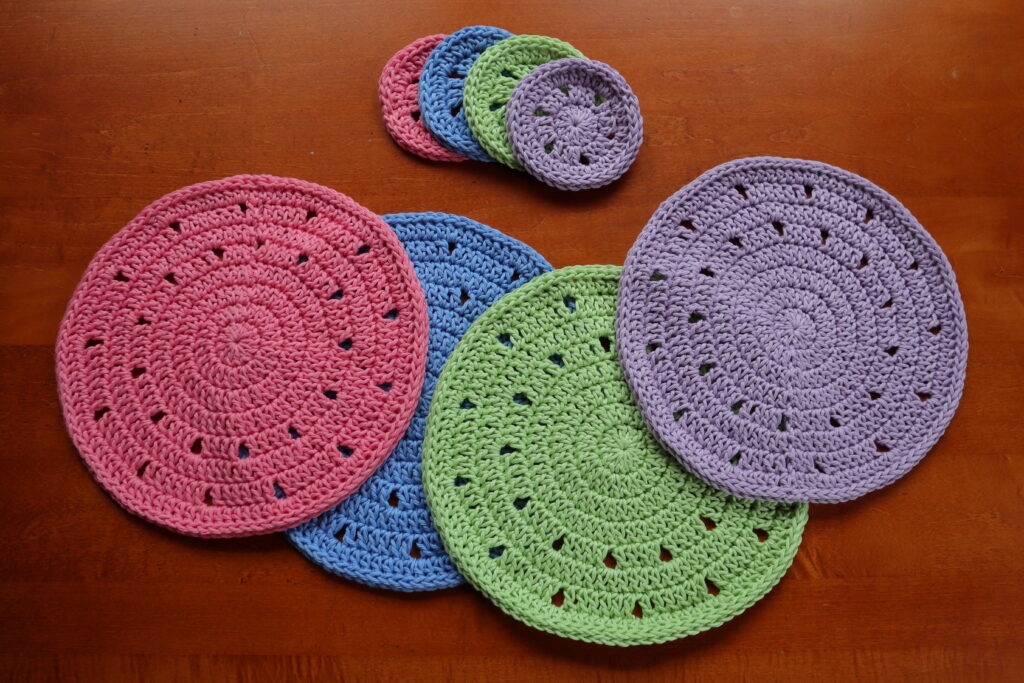
This placemat set works up quickly and will bring a vibrant splash of color to your table. Whether in summertime pastels or deep autumn tones you are sure to love these gems.
No time, no problem! You can complete one place setting with just one skein of yarn in about 2 hours for an advanced beginner. That includes the placemat and the coaster for a full setting.
These place settings are great for small spaces measuring a modest 9.5 inches (a little over 24 cm) in circumference. They are also very satisfying because you can complete them quickly!
1 Skein Per Place Setting !
Materials
- Yarn – Light Worsted DK Weight Cotton
- 50 – Light Coral
- 67 – Baby Purple
- 71 – Light Sky Blue
- 75 – dusty Light Green
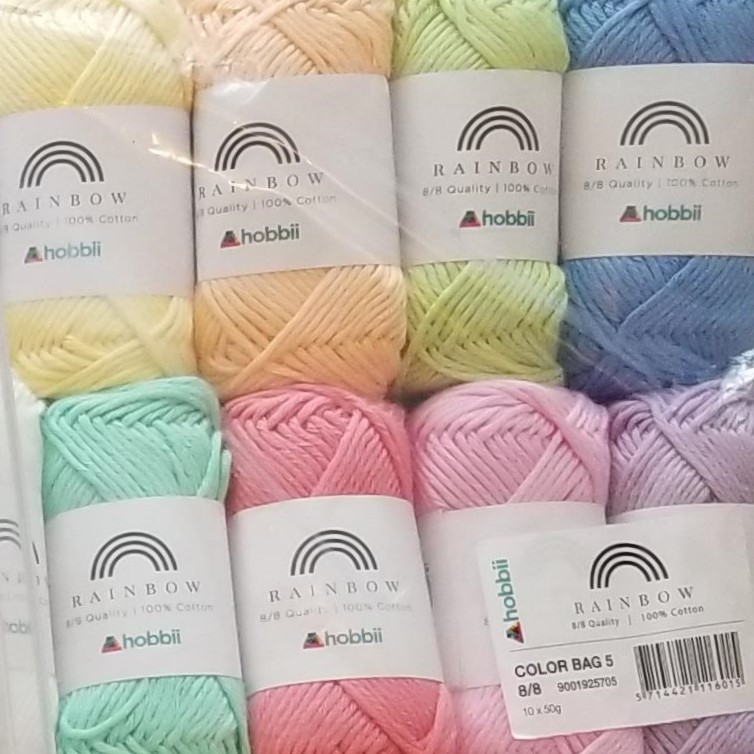
The yarn I used for this project is Rainbow Cotton from Hobbii in the 8/8 weight.
I used Color Bag 5 and from that bag I chose the above colors to work with.
Visit Hobbii to find this cotton yarn: https://hobbii.com/rainbow-cotton-8-8-color-bags-1-14?option=12339
- Hook – 5mm
- I used a 5mm Aluminum hook even though the yarn calls for a 4mm hook as it is a Light Worsted DK weight. I preferred to have a little more drape with this fabric so I went for a larger hook. If you decide to use a smaller hook for a denser fabric it will affect the size of your placemat so you might need to add additional rounds at the end.
- Scissors
- Darning Needle
Stitches
ch – chain
ch 1 and ch 2 – Chain this many stitches at one time
*Tip – Don’t make your chains too tight*
dc – double crochet
sl st – slip stitch
ch-2 sp – chain 2 space created on the previous round by chaining 2 stitches in a row. When you see this you will work directly into the hole left by the chain 2.
Special Instructions
Starting Ch does not count as a stitch on any round.
You will always ignore the starting chain when joining.
All starting dc are worked into the same stitch as the join from the previous round.
Remember to have fun and relax !!!
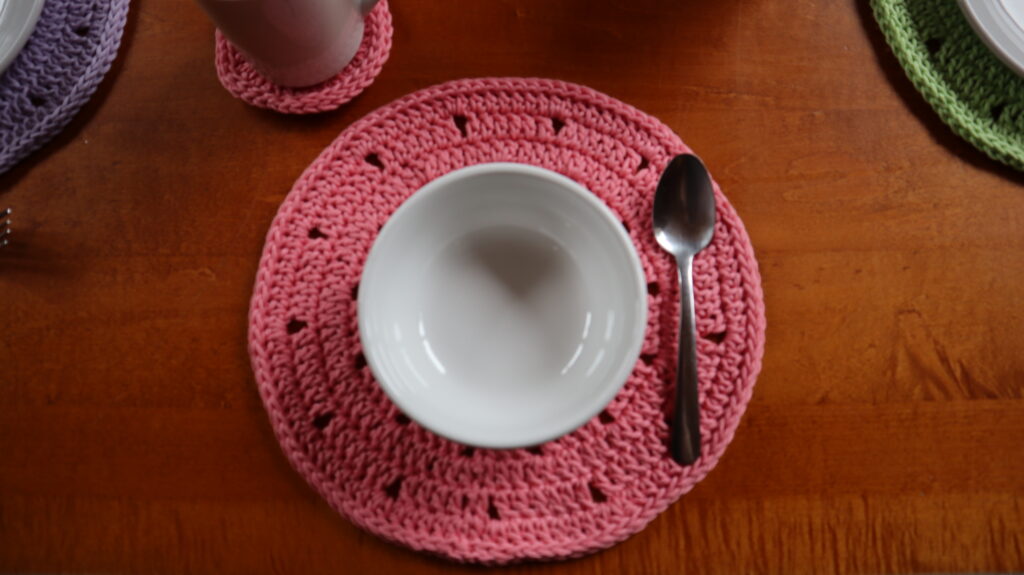
Placemat Pattern
Take Note
Working in the round will normally increase by the same number of stitches on each round. So a typical flat circle starting with 12 stitches would always increase by 12 (12-24-36 etc.) In this Pattern we will just have 1 extra stitch on each of the first few rounds to give us a nice, less visible join and also to help us have the stitch count that is needed for the decorative spaces later in the pattern.
To Begin – make a magic ring and ch 2 (starting ch 2 does not count as a stitch)
Round 1 – Work 12 dc in the ring, pull yarn end to close, join into top of first dc ignoring your starting ch 2 (12 sts)
Round 2 – ch 1, 2 dc in the same st, 2 dc in each of the next sts around. You will have a small gap at the end of the round. To close the gap you will work one extra dc into the sl st from the previous round. You would normally not do this on flat circle patterns but we need a specific stitch count so we will do it! This will create 1 extra stitch at the end of the next round. (25 sts)
Working this way will also give us a nice flat circle without gaps. It’s not an invisible seam but it is well hidden for beginners who are not ready for a fancy invisible seam ! And because we are only using a single color it’s a faster way to work up your circles. Even when I do an invisible seam, I only do it when I am changing between different colors because the join will be more noticeable.
Round 3 – ch 1, 1 dc in the same st, 2 dc in the next st, *1 dc in next step, 2 dc in next st, rep from * to the last st, 1 dc into the last st. Work 1 extra dc into the sl st of the previous round. You now have 2 extra stitches, join (38 sts)
Round 4 – ch 1, 1 dc in the same st, 1 dc in next st, 2 dc into next st, *1 dc into next 2 sts, 2 dc into next st* rep to last 2 sts, 1 dc in last 2 sts. Work 1 extra dc into the sl st of the previous round. You now have 3 extra stitches, join (51 sts)
Round 5 – ch 1, 1 dc in the same st, dc in next 3 sts, ch 2, *dc in next 4 sts, ch 2* rep to last 3 sts, 1 dc in next 2 sts, 2 dc in last st of round, ch 2, join (52 dc sts, 13 ch-2-sp)
Round 6 – ch 1, 1 dc in the same st, dc in next 3 sts, 2 dc in ch-2-sp, *1 dc in next 4 sts, 2 dc in ch-2-sp* rep to end, join (78 sts)
Round 7 – ch 1, 1 dc in the same st, dc in next st, ch 2, *1 dc in next 6 sts, ch 2* rep to last 4 sts, 1 dc in each of the last 4 sts, join (78 dc sts, 13 ch-2-sp)
Round 8 – ch 1, 1 dc in same st, 1 dc in next st, 2 dc in ch-2-sp, *1 dc in next 6 sts, 2 dc in ch-2-sp, rep from * to last 4 sts, 1 dc in ea of the last 4 sts, join (104 sts)
Edging – ch 1, sl st around into the 3rd loop or 3rd bar that is found on the backside of the stitch. This will push forward the top 2 loops of the stitch to make for a nice thick edge. Work around until you get back to your starting ch 1. Sl st into the back loop only of your starting ch 1. Bind off and sew in your ends.
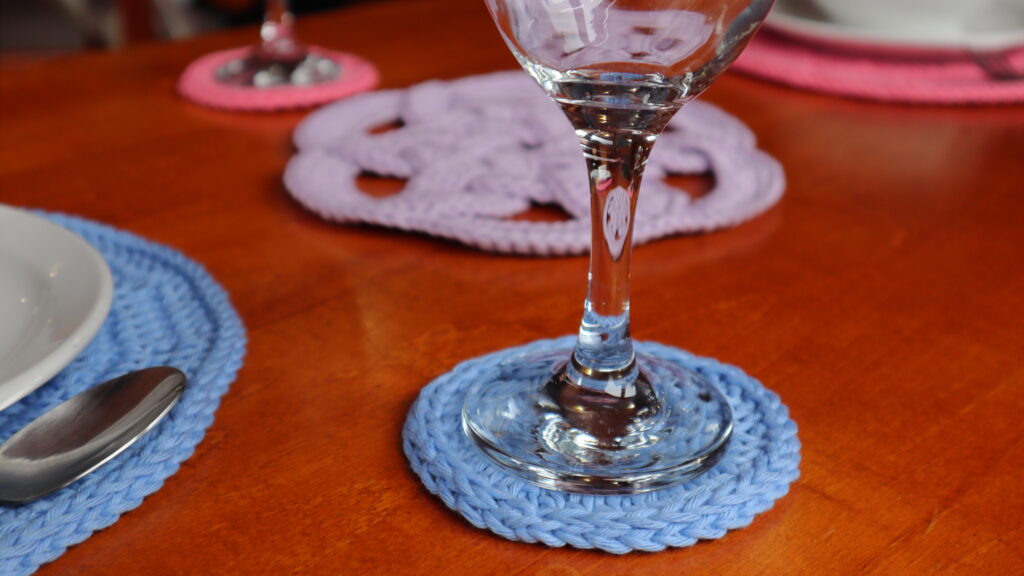
Coaster Pattern
To Begin – make a magic ring and ch 2 (starting ch 2 does not count as a stitch)
Round 1 – work 12 dc in the ring, pull yarn end to close, join into top of first dc ignoring your starting ch 2 (12 sts)
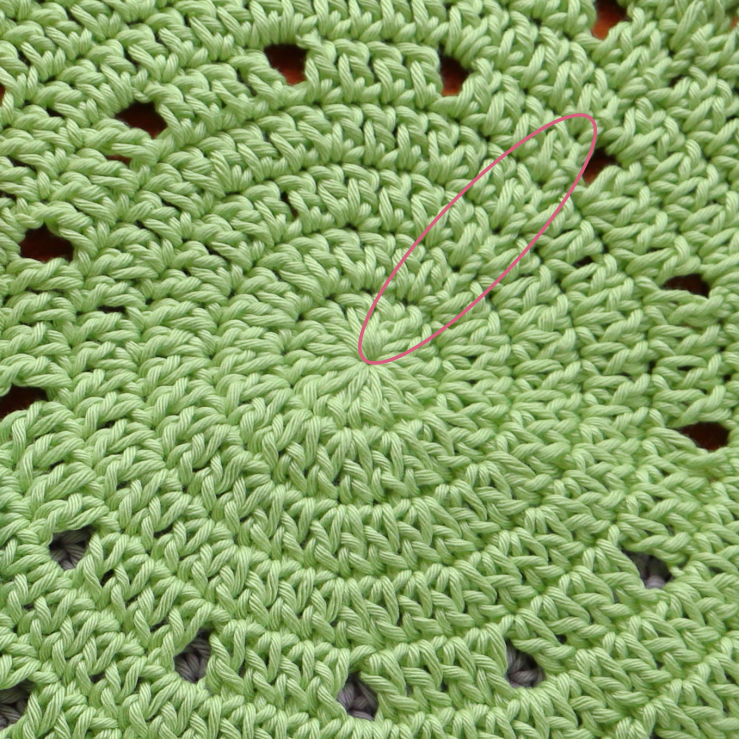
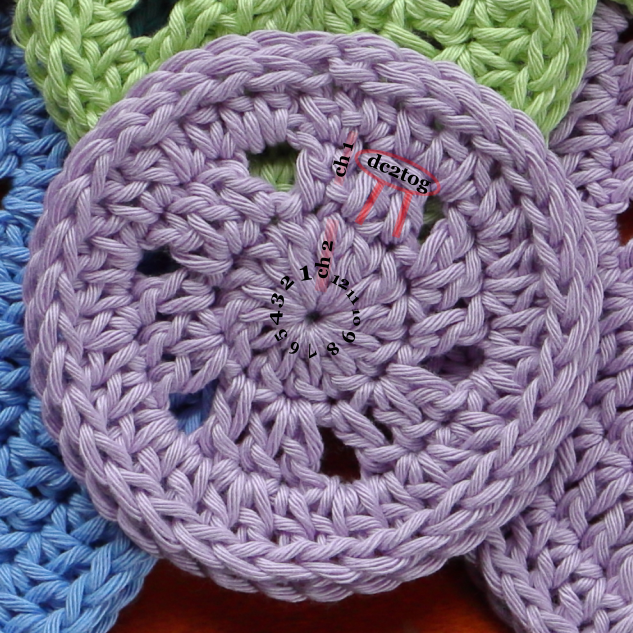
Round 2 – ch 1, dc in the same st, ch 2, *1 dc in next st, 2 dc in the next st, ch 2, rep from * to last st, work 1 dc2tog using the last st and the sl st space from the previous round
This dc2tog will help close the gap of the circle. I have created a small diagram to help you see the difference between your dc sts and your ch sts and also where to make the dc2tog as we are using the sl st and not a real stitch for the second part of the stitch. We are using a decrease here but its to add volume instead of decreasing stitches in the round.
Round 3 – ch 1, dc in the same st, 2 dc in ch-2 sp, *dc in next st, 2 dc in next st, dc in next st, 2 dc in ch-2 sp, rep from * to last st, 1 dc in last st, 1 dc in sl st sp from the previous round to close the gap, join.
Edging (same as placemat) – ch 1, sl st around into the 3rd loop or aka 3rd bar that is found on the backside of the stitch. This will push forward the top 2 loops of the stitch to make for a nice thick edge. Work around until you get back to your starting ch 1. Sl st into the back loop only of your starting ch 1. Bind off and sew in your ends.
Hope you Enjoyed this Pattern. Please share your creations with me on Facebook or Instagram. Just tag me and use the hashtag #crochetcricket
This Pattern is the Property of Crochet Cricket. All rights Reserved.
You are welcome to sell items made from following this pattern. Happy Crafting!
I would appreciate it if you would credit Crochet Cricket as the Designer and link back to this post when sharing your work online.