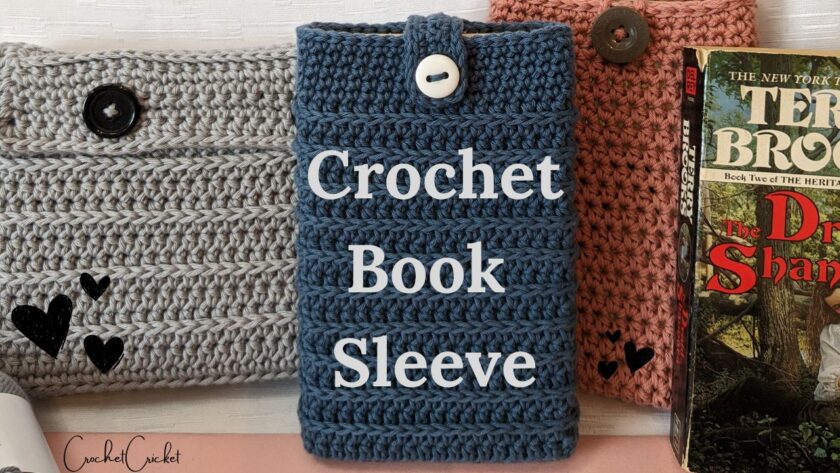
Books, books and more books! I am a book lover as well as a yarn lover. What else should I do then cover all my favorite novels in yarn! This is my second book sleeve cover tutorial. I am so happy that you guys are enjoying my journey into book lover territory.
This new design is only slightly different than the more basic version. If you are new to crochet and want to try something super simple and easy to make, why don’t you give my original book sleeve tutorial a try first.
You will find it here: https://crochetcricket.ca/crickets-crochet-book-sleeve-tutorial/
The original pattern teaches you the basics only using chain stitches, single crochet, half double crochet and slip stitching. And it includes a very basic closure that anyone can do. Yes! Even beginners.
Now if you are ready to move forward and try something a little different than basic stitches then your in the right place. The Royal Ridge version of this book sleeve is still very simple while also being elegant. Store your favorite books in style with royal stripes! Or give the perfect, personalized gift to a friend or loved one. This pattern uses all the same stitches as the previous pattern with some slight variations to get the royal ridge effect.
Give it a try, the pattern works up very quickly and you’ll have your whole library covered before you know it!
Skill Level
This is an easy level project. As long as you have knowledge of the basic crochet stitches you will be able to complete the project.
Finished Product Measurements
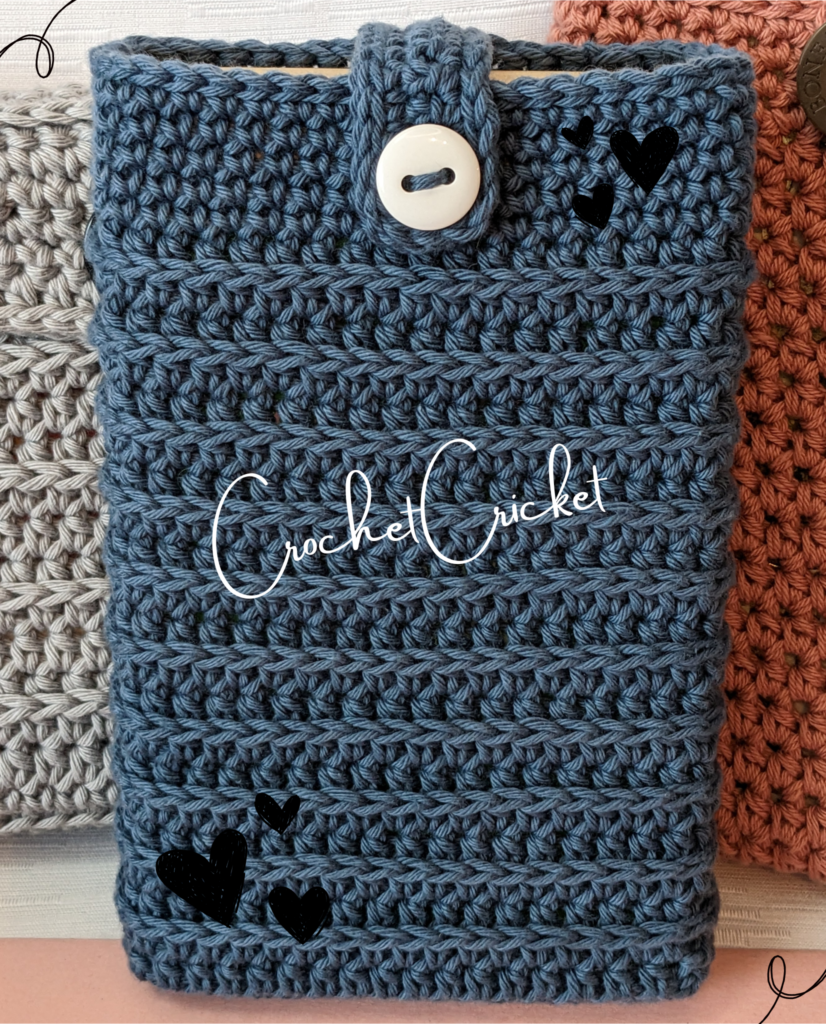
Without the book inside the book sleeve cover, my project measures 5.5” inches wide by 8” inches heigh. I am using a standard paperback sized book for this tutorial pattern.
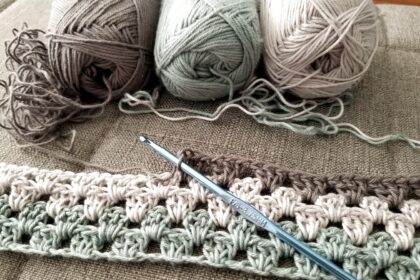
Materials
Hooks
You can use any Hook you want! Yes any hook. I have used a 3mm and also 3.5mm hook doing this pattern and both come out great. You will just need to choose a hook that gives you a stiff fabric so the book sleeve holds its shape even when a book is not in it. So take the smallest recommended hook or maybe one size smaller.
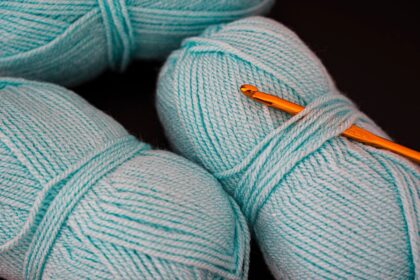
Yarn
Any yarn will do! Yes, you can use any yarn you have to make a book sleeve cover. I would recommend using worsted or sport weight cotton because it will be more sturdy. It will keep its shape better and not stretch out. But if you don’t have cotton, who cares! Go crazy and use what you have. Crochet is supposed to be fun and exciting!
Button
You will need to choose one button for the book sleeve closure. It can be a small size button of about .5”-.75” of an inch.
Book
Find your favorite book or your book gift to use as a reference guide. You will need to test out the fit as you go along so you can make adjustments as needed.
Construction Review
This book sleeve is worked from the button up to the top closure. Starting in continuous rounds and then working in joined rounds for the body of the book while the royal ridge stitch is being used. I will show you how to do 2 different joining techniques, classic and more hidden. The top of the book sleeve is completed with several more continuous rounds followed by a finishing closure. the closure could be replaced by the very simple closure used in the original pattern mentioned in the introduction.
Stitches
CH – chain stitch
SL ST – slip stitch
SC – single crochet
SC BLO – single crochet back loop only
HDC – half double crochet
RR – half double crochet into back bar/3rd bar (special stitch shown in tutorial)
Pattern
Repeat
You can use any number of stitches for this pattern. There is no specific repeat needed.
Starting Chain
Make a chain that covers the length of the bottom of your book when it is standing straight up. The chain should reach from one end to the other but not go past the edges of your book. With my yarn, hook and book, I did 19 chains to begin. Yours will be different depending on what materials you have.
Base
The base of the book sleeve cover is made in single crochet.
ROUND 1
- sc in 2nd ch from hook and in each stitch across to last st
- work 3 sc sts into the last ch
- sc back up the other side of the ch in a circle until you reach the first chain of your first sc
- work 2 sc sts into the same starting stich
- YOU NOW HAVE 2 ENDS WITH 3 STS AND THE SAME NUMBER OF STS BETWEEN THOSE 2 ENDS. In my tutorial I ended up with a chain of 19, 2 ends with 3 sts and 16 sc sts between the two ends.
ROUND 2
- without joining – in continuous round – work 2 sc sts into first sts of previous round
- work 1 sc st across until you reach your 3 sts on the end
- in last 3 sts work the following (2 sc sts in 1st st, 3 sc sts in 2nd st, 2 sc sts in 3rd st) increase made
- work 1 sc st until you reach last 2 sts
- in las 2 sts work the following (2 sc sts in 1st st, 3 sc sts in 3rd st) increase made
ROUND 3
- without joining – in continuous round – work 1 sc blo in each st around
- leaving this small bar along the bottom of the base gives it some definition, it also helps to do a final increase because this stich it a little wider than a normal sc st
- Join at the end of this round – In the video tutorial I explain 2 different ways to join. The traditional way verses a more hidden join.
Body
ROUND 4
- ch 1, never turn your work, hdc into same st and in each st around, join
ROUND 5
- ch 1, work 1 RR (hdc in 3rd bar) st in each st around. join
ROUND 6 – ??
- Repeat rounds 4 and 5 until you have 1-1.5” inches left to reach the top of your book. Keep alternating between a normal hdc round and a round of royal ridge stitches, joining each time without turning your work.
Top
- You can stop joining or continuing joining for the top part of the book sleeve. Work 4-5 rounds of sc. If you work in continuous rounds you will want to join and chain up on the last round to even out your edge.
Closure
To create the closure at the top of the book cover I suggest you watch the tutorial video, it will be more in depth than what I am explaining here.
You will need to slip stich around the top of the book cover until you reach the middle back of your cover. Put the book into the sleeve cover. Find the 3 stitches that line up in the center of the book sleeve cover. Make a chain that brings you to the front of the book sleeve cover to the spot where you desire your bottom to be placed. Keep in mind your turning chain will shorten this slightly.
In the 2nd chain from the hook, sc back up the ch and sl st into the next st before turning your work to sc back up the closure again. You might need to now remove the book from the book sleeve cover. Work sc until you reach the last 3 sts. Ch 2 and sc into the last st. This chain 2 will be the button hole opening.
Turn, sc into the 1st st, sc into the 2 button hole chains and sc back up to the book sleeve, sl st into the next st on the back of the book sleeve cover and finish your last few slip stitches, cut your yarn and sew in your tails. BRAVO!!
You now just need to sew on your button. I show you in the tutorial video my technique for this.
Video Tutorial
Share Your Work with our Community
I really hope that you have enjoyed making this project!
I would love to see your work. Tag me!
Facebook – @crochetcircket
Instagram – @crochetcricket.ca
Tiktok: @crochetcricket
Hashtag your work – #crochetcricket
Be sure to let me know how you enjoyed this tutorial and what other content you would like to see posted on my channels in the future. Remember to like, comment and subscribe if you like what you see!
Enjoy !